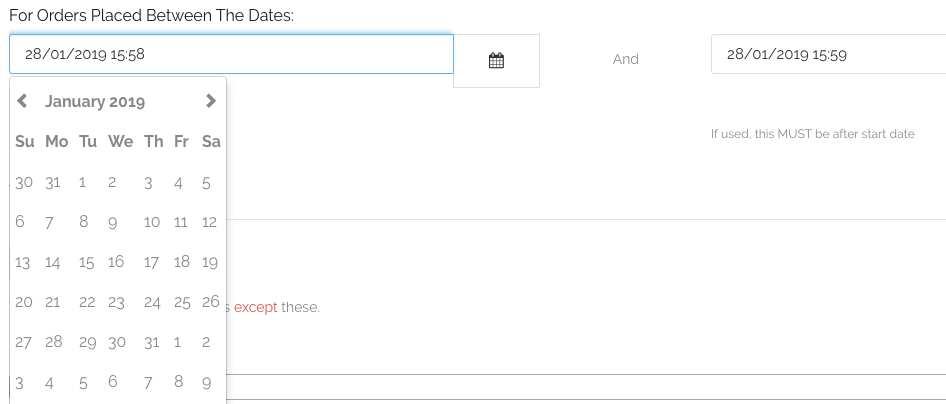
1) Start By Setting Dates
Technically you don’t HAVE to do this, but, it is strongly (x 1000) recommended. Edit your email template and go to the “For Orders Placed Between The Dates:” section under “When?”. Click in each field to show the date picker and choose a start and stop date.

(of course, you have to fill out the rest of the template. We’re just talking about the specifics needed for Force Send here)
2) Save Your Template
3) Scroll Down To “Force Send”

and click the “Send It” button (which doesn’t really send it, but takes you to a confirmation screen)
4) Read the Confirmation Screen
We will tell you the rules of who will get your email template. Read them carefully.
5) Type “AGREE” in the field
This is so that you have to pause and think!
6) Click “Schedule Emails”
This would queue up your emails
OR
Click “Get me out of here” to go back to the email template details page.
NOTES
- Don’t to ‘Force Send’ an “ASAP” triggered email. Results will be unpredictable.
- If you have an ‘end date’ make sure it is after the ‘start date’
- ‘Start Date’ and ‘End Date’ apply to ‘purchase date’ of an order
- We can only send to orders that are in our system. During your free trial, we only go back 5 weeks. After your free trial, we go back varying times depending on your subscription level.
Latest posts by Team Zonmaster (see all)
- Are My Emails Compliant with Amazon Policy? – August 22, 2023
- Amazon AI-Powered Reviews for Sellers: A New Era of Customer Feedback – August 16, 2023
- Amazon Prime Day Opportunities: Unlock Success with Amazon’s Prime Big Deal Days in October 2023 – August 13, 2023